
To note before starting: this is a variation on the no-dart full bust adjustment (FBA) outlined here. We'll skip over that part pretty quickly today in order to get to the raglan-specific bits. Refer back to that post for details if you need to.
OK, down to it. Grab your pattern, and we'll start with the front bodice. I'm using the Lane Raglan sweatshirt/tee pattern by Hey June, but of course any raglan-sleeved top will do. Here it is in its original state:

Now perform your no-dart FBA, as described in detail in this post. The raglan front shoulder seam is a different shape from the 'standard' armhole, but the principle is exactly the same.

- Draw your adjustment lines
- Cut
- Spread out the pieces by the desired amount
- Slide some spare paper underneath and stick it all in place
Then complete the FBA by re-drawing the front shoulder seam to smooth it out:

Stick everything in place and cut out your adjusted front piece:

Now, onto the extra step necessitated by the raglan sleeve construction.
Because we've just changed the front shoulder seam on the bodice pattern piece (by lengthening it slightly), we also need to adjust the front shoulder seam on the sleeve pattern piece. Otherwise they won't match up properly at the underarm and your attempt at bosom-accommodating will be in vain. We'll do this by determining how much length we need to add to the sleeve seamline, and then adding it :-)
So, firstly, measure the length of the shoulder seam on your adjusted front bodice. It will be slightly curved - the easiest way to measure around the curve is to stand your tape measure on its side instead of laying it flat. Like this:

Note this measurement as precisely as possible.
Now take your sleeve pattern piece and before you do anything else, identify the front shoulder seam. We don't need to make any changes to the back! The front seam is usually marked with one notch and the back with two - but whatever the markings are, just make sure you are working on the correct side! In this picture, my sleeve pattern has the front shoulder seam on the right hand side.

Measure and note the length of the front shoulder seam as accurately as possible.
Now, subtract this measurement (the length of the front shoulder seam on the sleeve) from the previous measurement you took (the length of the front shoulder seam on the adjusted bodice). The seam on the sleeve pattern piece will be 1-2cm shorter, depending on the size of your FBA. Note down exactly how much shorter it is. This is the amount by which we will lengthen the front sleeve seam. In a couple of steps, I will refer to it as XX cm / YY inches.
Before you lengthen, trace the original curve of the front sleeve seam and underarm point onto a spare piece of paper:

Now, slide this piece of paper either downwards or outwards slightly, following the curve of the seam in the most 'logical' direction, positioning the new underarm point XX cm / YY inches away from the original underarm point. Like this:

As you can see, in this case I extended the seam downwards and out slightly. The curve of raglan sleeve seams varies from one pattern to another: when positioning the new underarm point, just follow the curve in the direction that seems easiest. Sometimes, it might be necessary to re-draw the seam slightly to smooth it out - in this case, a good trick is to trace over the sleeve curve from a larger size of the original pattern. That way, you can change the length of the seam without deviating from the shaping of the original pattern.
And all that remains is to connect the new underarm point back to the side/underarm sleeve seam:

Finished! Go forth and sew your slightly-more-accommodating raglan tee!

What became of mine, you may be wondering?
Ahem. Yes. Sometimes, there is such a thing as too much slouch. Sometimes, one can even be unnecessarily zealous about adding room for the boobs.

Sometimes, one steams ahead with a fabric that has absolutely no stretch recovery, and ends up with a ridiculously oversized sweater with a humungously gaping back neckline which is only made wrinklier and worse by application of the elastic thread fix.
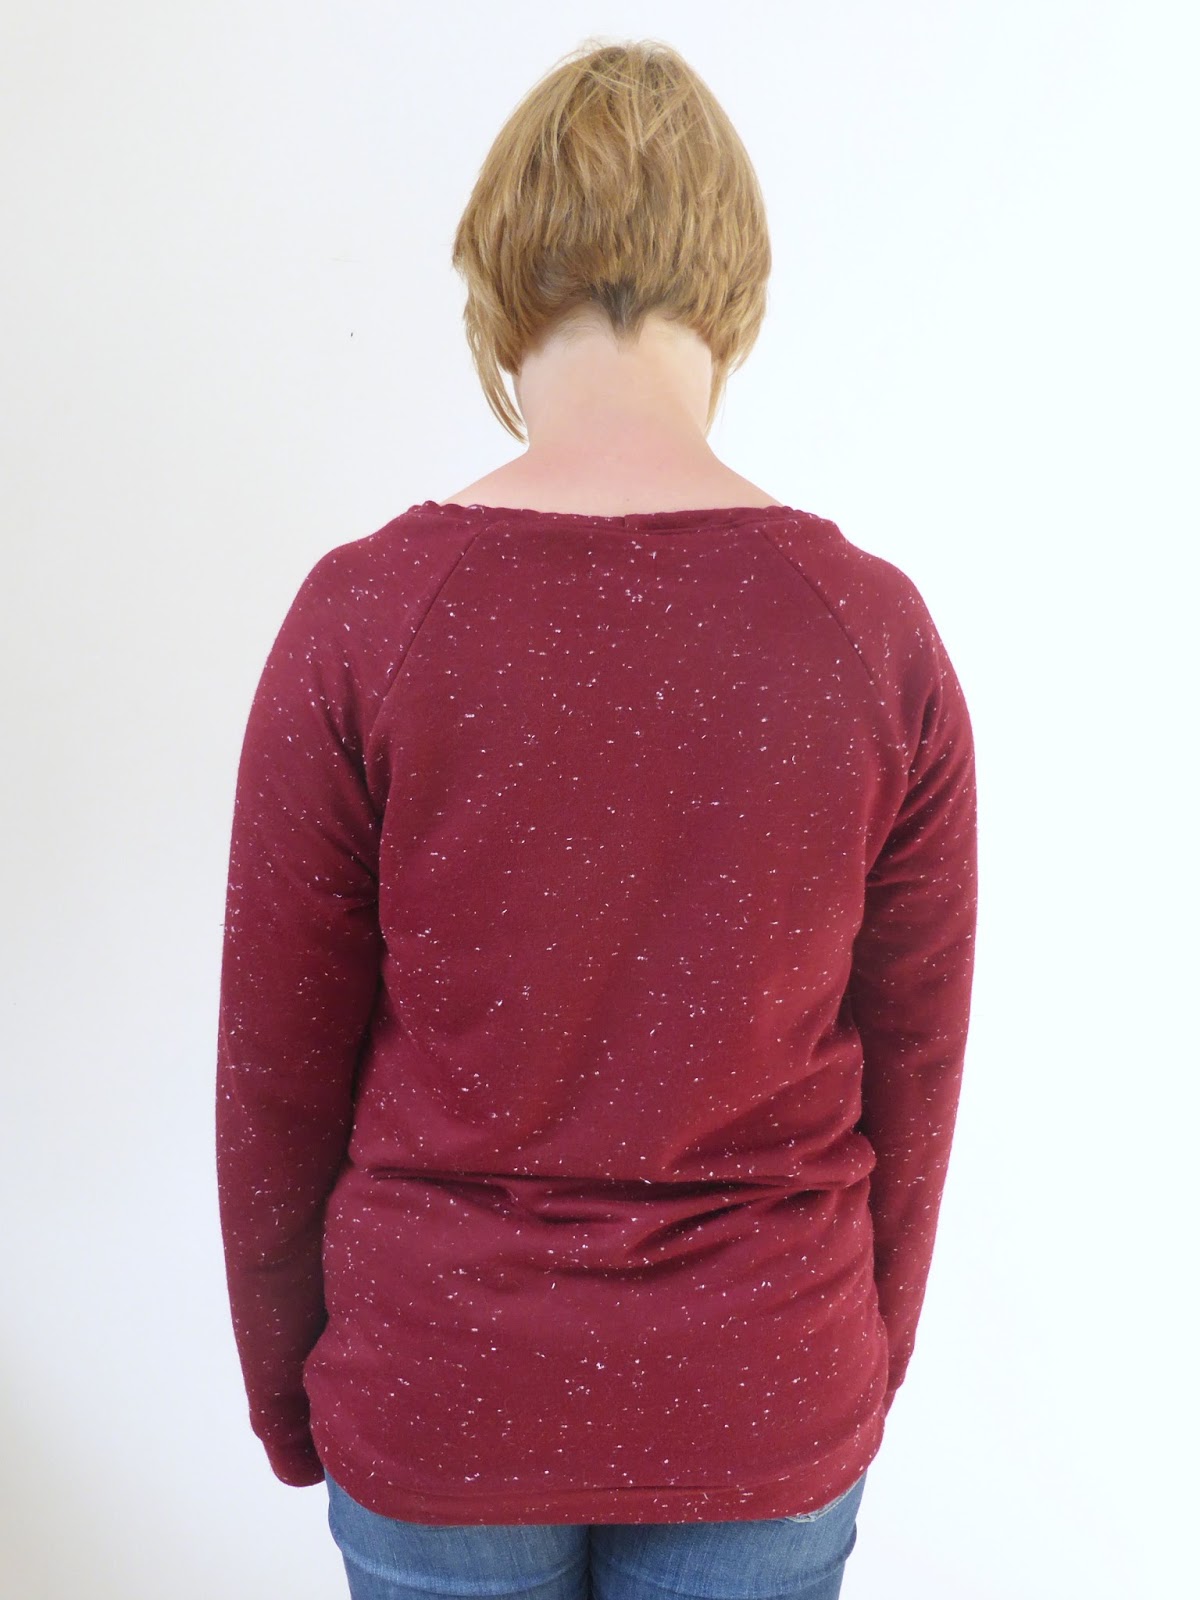
Ah well. You win some, you lose some. I might shorten the sleeves and make it into a grandad-style cardi, but not any time soon. The weather has turned and now I must make ALL THE SUMMER THINGS.
Yay!
Hope it's helpful my dears :-)
Jo
Thanks for this Jo - extremely helpful as always!
ReplyDelete