

Readers, I'm stressed. Do you feel it too? December is sneaking towards us and I haven't done any planning! I'm just revealing my own neuroses here, aren't I? The thought of going into festivities without a plan terrifies me. And on top of it I have blog guilt that I promised you a skirt.
Instead, dear friends, you are going to get a confession of skirt mojo failure and a cautionary tale about sewing under the influence. Don't be tempted by the merriness! At least not till the last stitch on your gifts is sewn...

That doesn't look that bad, does it? That's another tidy zip there sandwiched into the lining. All very harmoniously sewn while my son explored the engineering possibilities of a quilting ruler, some pencils and a box of zips.

He even proudly took pictures of his mummy at work.

 |
| What I wear when I'm not posing in outfits. Glam! |
But to present all this followed by pictures of a finished skirt would be to deceive. I got the waistband half-on and realised that the fit of this flared skirt was way off - it was much too big. And I couldn't get away with just wearing it a bit lower; it's meant to sit on the waist, and looked appalling.
So,
I did what I had to do. I ripped the entire thing. I thought to myself:
I'll take it round to friend S's house for our girls' night in, and
I'll do it watching the X-factor and that's altogether an evening
well-spent. Yeah. You know what happened? I consumed a glass of bubbly
too many along with my maltesers, and left the newly-detached waistband
behind.
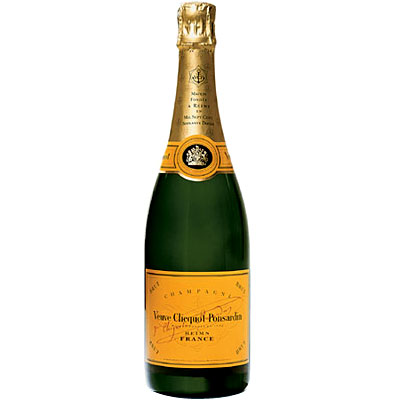
Mmmm bubbly.
I'm not a Catholic, but cutting a size smaller out of the original pieces, making a replacement waistband and re-sewing the whole thing (much less neatly) felt like appropriately painstaking penance for such slatternly behaviour. I'm now purged :-)
So in the end it got done, and I might strong-arm my sister into photoshooting me at the weekend. She'll be here with my mum for the Christmas market, and this is about my favourite weekend every year. The girls get together and shop and go on the big wheel and consume hot beverages and it's lovely (though my other sister has dumped us to travel around South America, of all the unreasonable and unseasonable things to do).
 | |||||
| 2008 (how is that four years ago??) when I had a small bump and a babe in a pushchair. |
So I'll chill out with the folks, and shop a bit, a remind myself that it's ok if I don't hand sew everything including the turkey, and by Saturday night I'll be raising my glass to December.
Are you all girding yourselves for maker's and
planner's stress?? Or can you tell me precisely how you're keeping your
cool?
My top tip: hit the mulled wine. Just don't rip seams at the same time...


